How to write a simple Gno Smart Contract (Realm)
Overview
This guide shows you how to write a simple Counter Smart Contract, or rather a realm, in Gno.
For actually deploying the Realm, please see the deployment guide.
Our Counter realm will have the following functionality:
- Keeping track of the current count.
- Incrementing / decrementing the count.
- Fetching the current count value.
1. Development environment
Currently, Gno apps can be developed locally or via the online editor, Gno Playground. Below we detail how to set up and use both.
Local setup
Prerequisites
- Text editor
The Gno language is based on Go, but it does not have all the bells and whistles in major text editors like Go. Advanced language features like IntelliSense are still in the works.
Currently, we officially have language support for ViM, Emacs and Visual Studio Code.
To get started with a local setup, simply create a new empty folder.
mkdir counter-app
Gno realms can be typically written anywhere, under any structure, just like regular Go code. However, Gno developers have adopted a standard of organizing Gno logic under a specific directory hierarchy, which we will explore in this section.
Since we are building a simple Counter realm, inside our created counter-app
directory, we can create another directory named r, which stands for realm:
cd counter-app
mkdir r
Alternatively, if we were writing a Gno package, we
would denote this directory name as p (for package). You can learn more about
Packages in our Package development guide.
Additionally, we will create another sub-folder that will house our realm code, named counter:
cd r
mkdir counter
After setting up our work directory structure, we should have something like this:
counter-app/
├─ r/
│  ├─ counter/
│  │  ├─ // source code here
Now that the work directory structure is set up, we can go into the counter
sub-folder, and actually create the file to store our Counter realm:
cd counter
touch counter.gno
All Gno source code has the file extension .gno.
This file extension is required for existing gno tools and processes to work.
You're ready to write Gno code! Skip to "Start writing code" to see how to start.
Using the Gno Playground
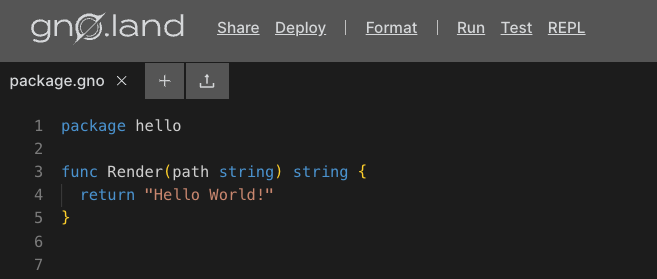
For smaller apps and Gno code snippets, the Gno Playground can be used. It provides a simple sandbox environment where developers can write, test, and deploy Gno code.
Visiting the Playground will greet you with a template file:

Create a new file named counter.gno, and delete the default file. You are now
ready to write some Gno code!
2. Start writing code
After setting up your environment, we can start defining the logic of our counter
app. Inside counter.gno:
package counter

import (
    "gno.land/p/demo/ufmt"
)

var count int

func Increment() {
    count++
}

func Decrement() {
    count--
}

func Render(_ string) string {
    return ufmt.Sprintf("Count: %d", count)
}
There are a few things happening here, so let's dissect them:
- We defined the logic of our Realm into a package called
counter. - The package-level
countvariable stores the active count for the Realm (it is stateful). IncrementandDecrementare public Realm methods, and as such are callable by users.IncrementandDecrementdirectly modify thecountvalue by making it go up or down (change state).- Calling the
Rendermethod would return thecountvalue as a formatted string. Learn more about theRendermethod and how it's used here.
You can view the code on this Playground link.
Gno Realms support a concept taken from other programming languages - constructors.
For example, to initialize the count variable with custom logic, we can specify that
logic within an init method, that is run only once, upon Realm deployment:
package counter

var count int

// ...

func init() {
    count = 2 * 10 // arbitrary value
}

// ...
Conclusion
That's it 🎉
You have successfully built a simple Counter Realm that is ready to be deployed on the Gno chain and called by users. In the upcoming guides, we will see how we can develop more complex Realm logic and have them interact with outside tools like a wallet application.